You're a good parent
I Made This
Did you make something? Do you want the fleeting rush of endorphins that come with affirmation from strangers? Do you think what you made is neat? Share it here!
Paintings, movies, music, drawings, models, gardens, houses, snowmen, sandcastles - if you made it, you can post it.
RULES:
Some things you make are not to be shared. These include:
- Messes
- Children
- Biological... byproducts
- Bigotry
Do not be a jerk.
- No racism, sexism, homophobia, transphobia, ableism, classism, or bigotry of any kind.
- Don't try to sell stuff unless people ask. You can post your Etsy (or similar) if someone prompts you. No spamming self-promotion.
<3
I try to be. I at least feel like I'm making completely different mistakes than my parents did, LOL.
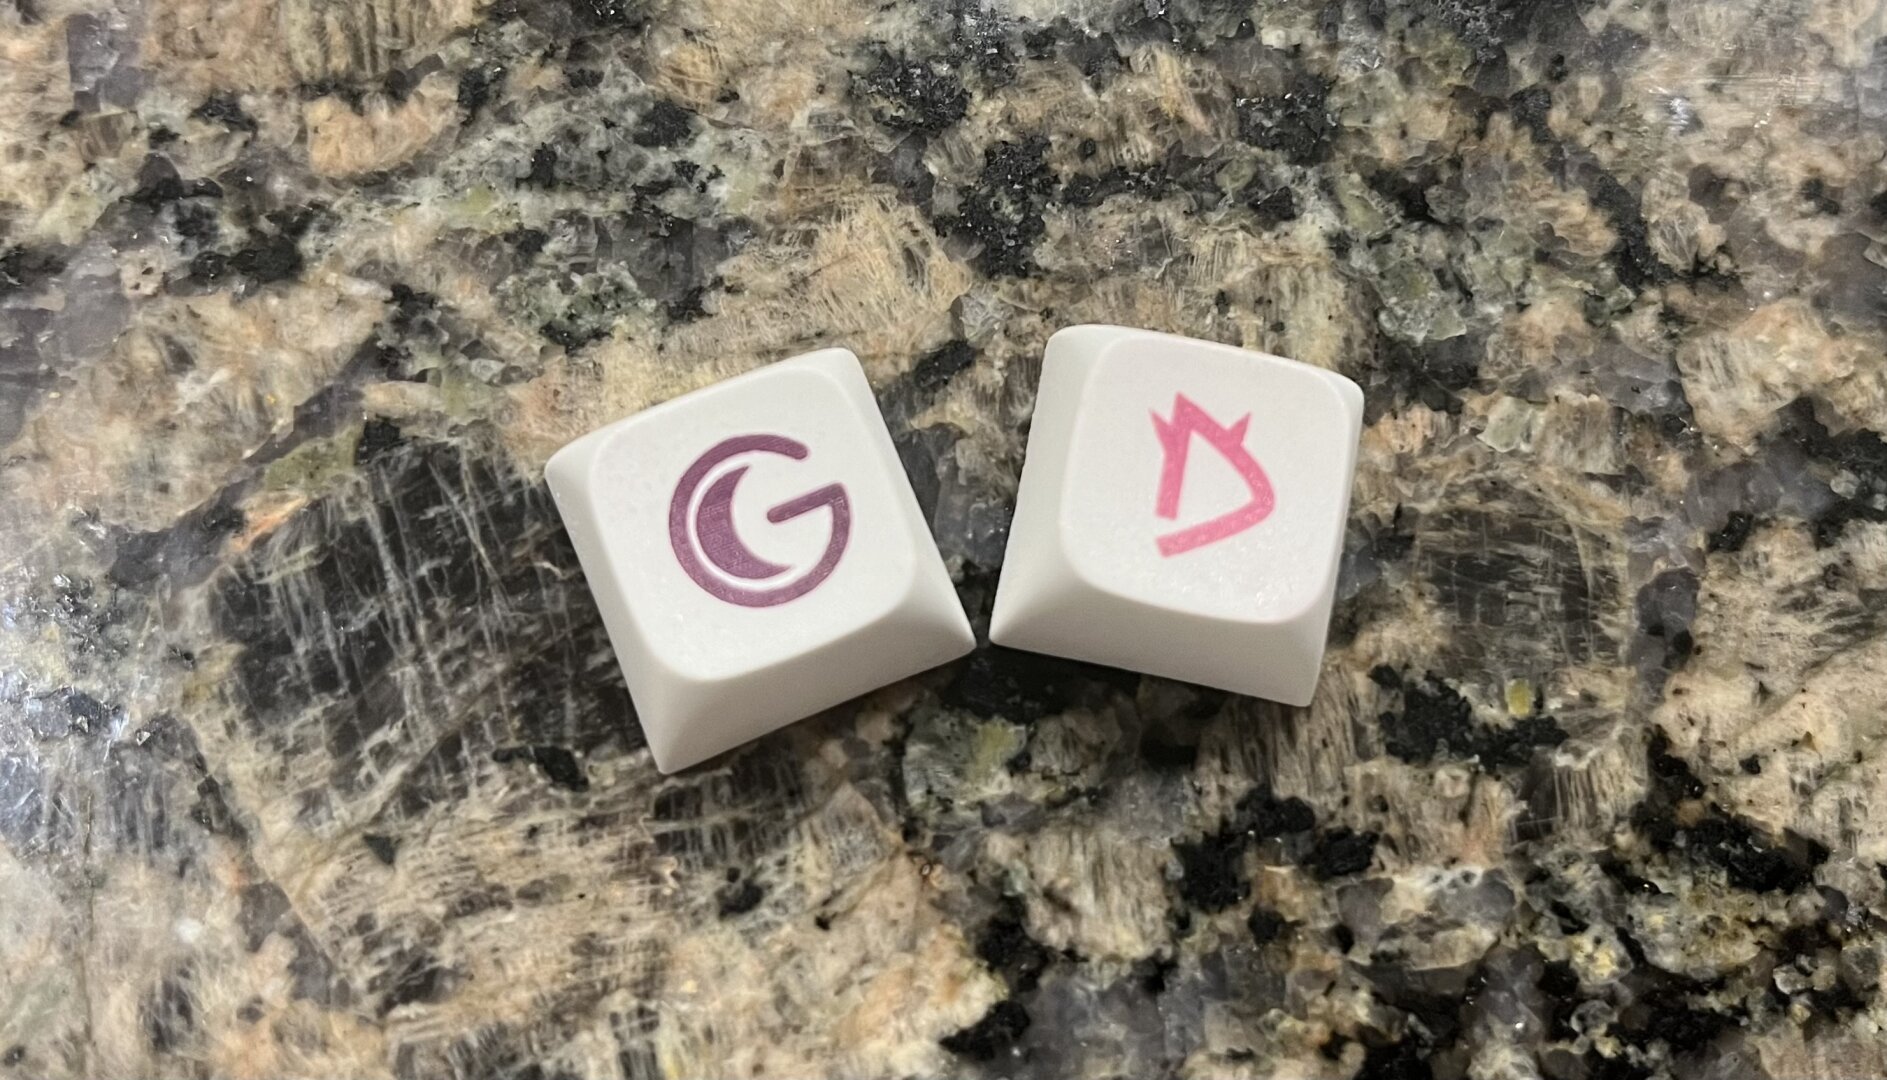
Also, zooming in and my iPhone's blown-out white balance (or whatever) does the pictures no favors. The scan lines and color look better in person.
That is really neat! I never even thought of that. Are you using an intermediate layer like sublimation paper to transfer the ink, and then you heat the specific shape with the laser? I saw you said you used the pens, but I have never tried anything with those. I mostly just press shirts for my kids and do a lot of nothing with my laser. I’d love to try something like this.
For my specific laser and use case, I don't need sublimation paper. I just make sure that I use light color keycaps made of primarily of PBT (not ABS!), I cover the entire keycap with a Cricut infusible ink marker, and then I find that a very low power setting and moving very slow gives me almost no "overspray". On these two keys, which look a bit better in person than in that zoomed in photo, I made a point of cleaning with isopropyl alcohol first, and that seemed to help.
That is really cool. Thanks for replying. I'm gonna try this out on something.
I recommend running some trials with your own laser, but for my 5w Comgrow Z1, 2% power and 45mm/minute ended up working well for PBT plastic. There are probably “sweet spots” at higher power and speeds, but low and slow came out best for me. Good luck!
That’s awesome!
Is this a Marvel Snap reference?!
Maybe? Specifically, it's from the Disney+ show they made.
Not that Disney is the best messenger, but there's something of value in a superhero show that has very thinly coded episodes about gentrification, rotating door prison systems, and the dangers of social media addiction, among others.
What specific inks are you using?
I've gotten surprisingly decent results with dry-erase marker ink on a cheapo 1.5w laser, but the black is by 10x the best colour at adhesion. Would love to expand the palette.
I'm using Cricut Infusible Ink markers. They were pretty much made for this, using heat to dye polyester-based materials, like PBT. I just have a 5w diode laser, and I do it "low and slow," 2% power and 45mm/minute. Black and blue still work best, but the red (pink) and green can be nice too.
I have done two entire keyboards worth. The gray DSA i did in black are holding up great, but the legends went on wonky because I hadn't refined my workflow. The next batch I did was on this same type of white XDA but while alignment was vastly improved, the ink didn't go on as well. The only thing I did differently with these two was make sure to clean the caps with IPA first.
